By Bruce, Senior Technical Director & Master Artisan at Art Inlay
When architects and luxury developers conceptualize a grand entrance, standard tiling rarely makes the cut. The solution is often custom marble inlay flooring—a bespoke architectural feature that transforms a simple floor into a permanent piece of art. But how exactly do these intricate designs go from a digital sketch to a flawless stone masterpiece?
The process of creating bespoke marble inlay requires a delicate balance between old-world craftsmanship and cutting-edge technology. Whether you are designing an intricate residential foyer or a massive commercial lobby, understanding the manufacturing process helps you make better material choices, manage project timelines, and justify the investment to your clients.
The Evolution of Stone Art: Pietre Dure vs. Waterjet Technology
To understand modern manufacturing, we first have to look at the history of the craft. Historically, inlay work was done using the pietre dure technique. Originating in Renaissance Italy, artisans would painstakingly hand-cut semi-precious stones and marble, fitting them together like a puzzle. It was a beautiful but agonizingly slow process, reserved only for royalty and the ultra-wealthy.
Today, while the spirit of pietre dure remains, the execution has evolved. Modern custom marble inlay flooring relies primarily on CNC (Computer Numerical Control) waterjet cutting.
Waterjet vs. Traditional Methods:
- Precision: Waterjet technology cuts stone with a high-pressure stream of water mixed with abrasive garnet, achieving tolerances of a fraction of a millimeter. Hand-cutting can never achieve this level of seamless integration.
- Speed: What used to take months of labor by a team of artisans can now be cut in days, making large-scale commercial projects viable.
- Design Freedom: Complex curves, sharp interior angles, and intricate floral patterns that would shatter under traditional cutting tools are easily handled by a waterjet.
Step-by-Step: The Manufacturing Process for Custom Marble Inlay Flooring
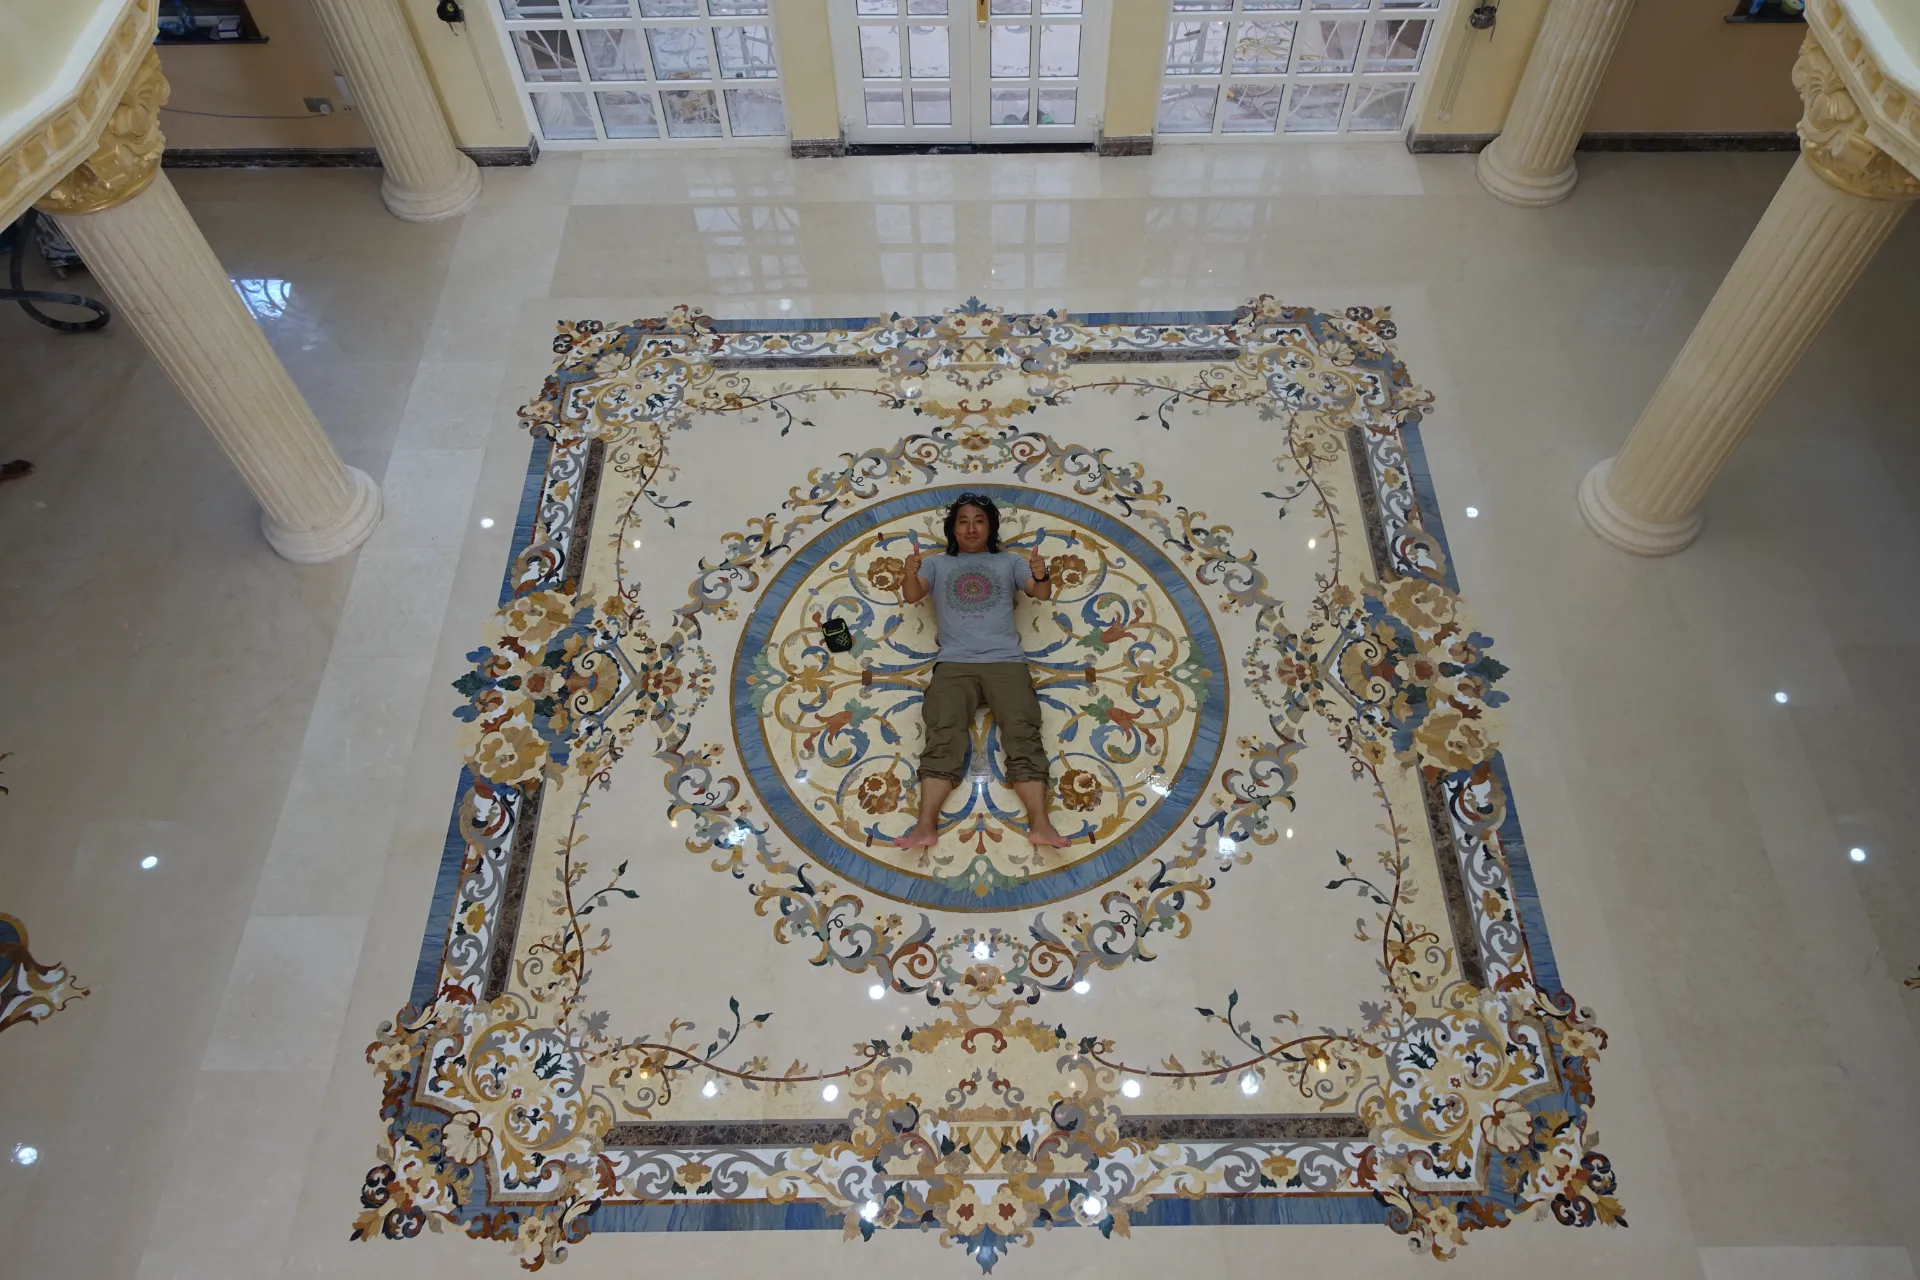
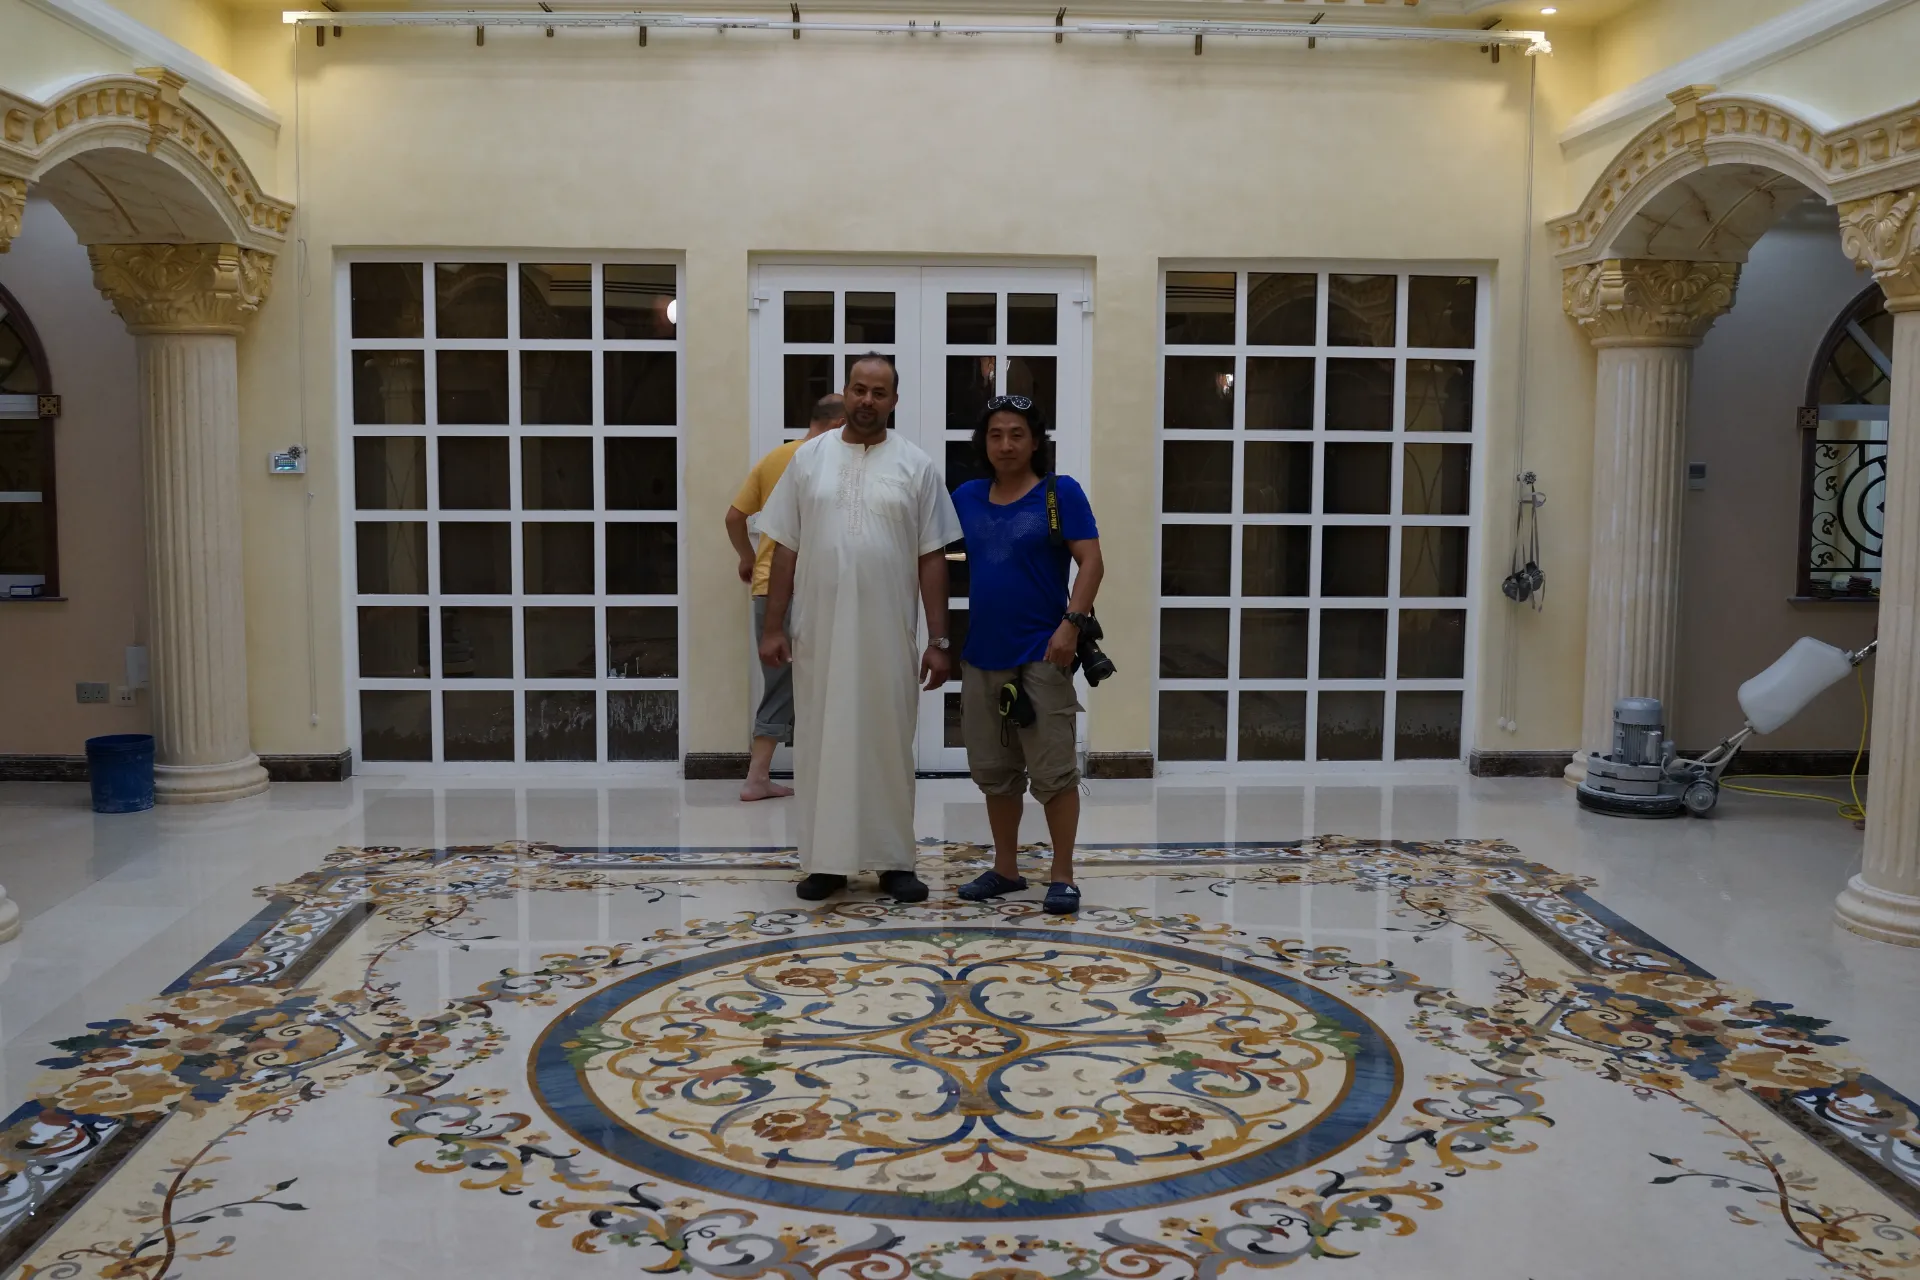
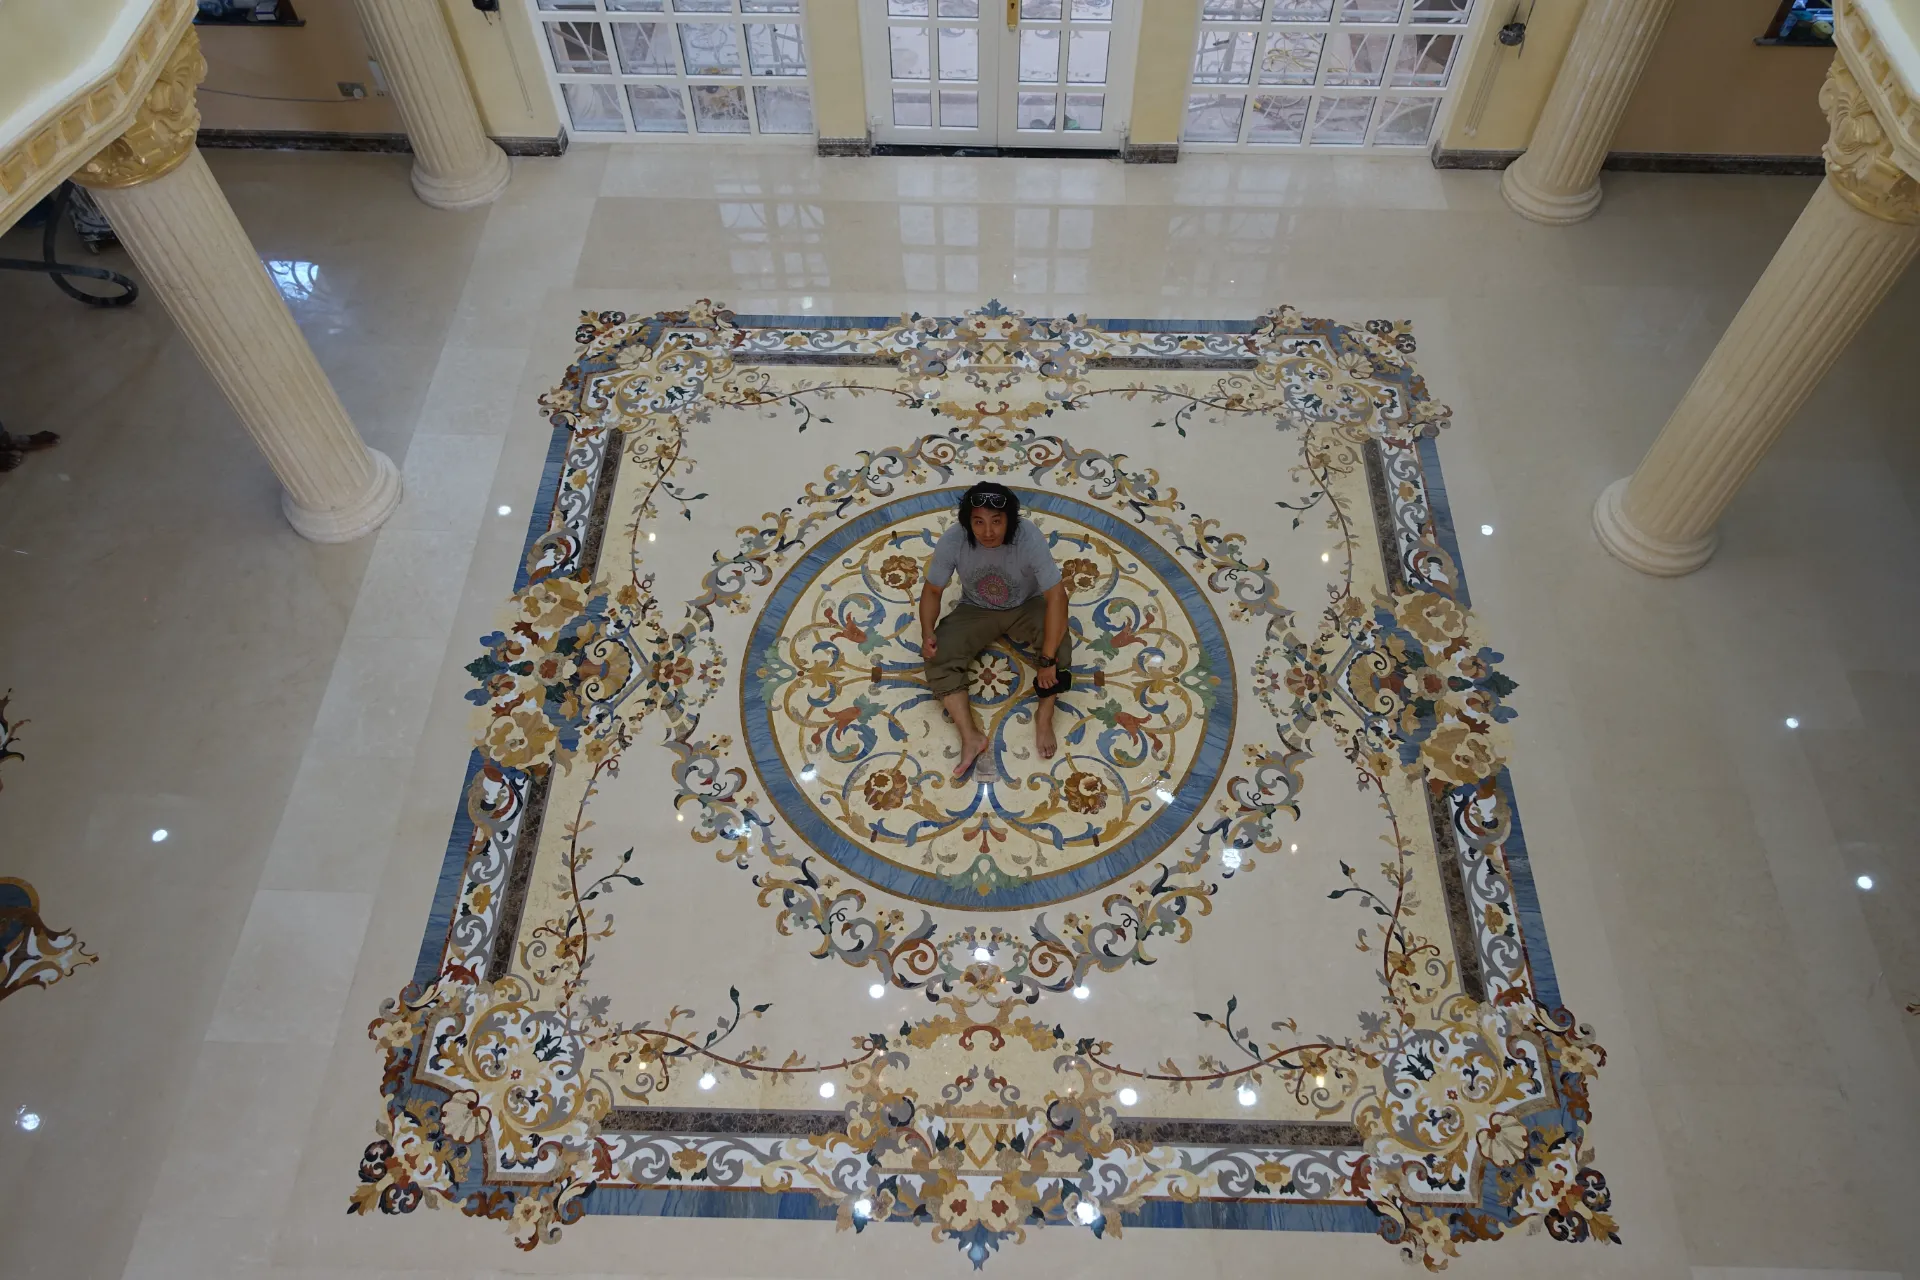
Creating marble floor medallions and expansive inlay floors is a multi-step process that requires absolute precision from start to finish.
1. Design and CAD Engineering
Every project begins in the design studio. Architects provide their initial concepts, DWG files, or simply inspiration images. The manufacturer’s engineering team then converts these designs into highly detailed CAD (Computer-Aided Design) files. Every single petal, geometric line, and border is mapped out. The software optimizes the layout to minimize stone waste and calculates the exact cutting paths for the waterjet machine.
2. Sourcing and Material Selection
The beauty of bespoke marble inlay lies in the natural color variation of the stone. Artisans carefully select slabs of marble, granite, onyx, or semi-precious stones based on the client’s color palette. The physical properties of each stone (such as density and hardness) must be evaluated to ensure they will wear evenly when placed together on a floor.
3. Precision CNC Waterjet Cutting
Once the CAD files are finalized and the slabs are selected, the cutting begins. The stone slabs are loaded onto the waterjet bed. A stream of water, pressurized to over 60,000 PSI and mixed with abrasive particles, slices through the thick stone as easily as a hot knife through butter. Because the waterjet generates no heat, it does not alter the color or structural integrity of the marble.
4. Hand Assembly and Resin Binding
Despite the advanced technology used in cutting, the assembly is still an entirely manual process. Skilled artisans take the thousands of freshly cut pieces and assemble them face-down on a flat template, much like a giant jigsaw puzzle.
Once fitted together, a high-strength, color-matched epoxy resin is poured into the microscopic gaps between the stones. This resin binds the pieces into a single, solid slab and prevents dirt or moisture from penetrating the seams once installed. For large floor areas, the design is segmented into manageable panels for shipping.
5. Polishing, Backing, and Quality Control
After the resin cures, the medallion or floor panel is flipped over. It goes through a rigorous grinding and polishing process to ensure the entire surface is perfectly level. Depending on the design requirements, aluminum honeycomb or fiberglass backing may be applied to provide structural support and reduce the overall weight of the panel. Finally, the piece undergoes a strict quality control inspection before being crated for global shipping.
How the Manufacturing Method Affects Cost
When specifying inlay for a project, developers often ask what drives the cost of marble inlay flooring. The manufacturing process plays the biggest role:
- Complexity of the CAD File: A simple geometric border requires far less machine time and CAD engineering than a highly detailed, multi-colored floral medallion.
- Machine Time: Waterjet cutting is billed by the hour. Intricate curves take longer to cut than straight lines.
- Material Waste: Some complex patterns yield a high amount of off-cut waste. Utilizing the negative space from one cut in another part of the design can help mitigate material costs.
- Stone Rarity: Incorporating semi-precious stones (like Lapis Lazuli or Malachite) or rare marbles directly increases the raw material expenditure.
Conclusion: Partnering with a Master Manufacturer
Understanding the complex engineering and artistry behind custom marble inlay flooring is crucial for architects and designers looking to incorporate these elements into luxury spaces. By combining the historic beauty of pietre dure aesthetics with modern CNC waterjet precision, today’s manufacturers can bring virtually any vision to life.
If you are currently developing a luxury residential or commercial project and need expert guidance on material selection, CAD design, and manufacturing, we are here to help. Explore our extensive portfolio of completed global projects, or contact our factory directly to discuss the specifications for your next bespoke architectural endeavor.