
Adding a marble inlay border to a floor transforms a standard tile or stone installation into an engineered architectural composition. A well-designed border defines room proportions, separates circulation corridors from functional zones, and frames central medallions or furniture groupings. However, incorporating an inlay border requires precise geometric layout, substrate elevation planning, and corner pattern management to prevent uneven cuts and shear cracking. This comprehensive technical guide covers how architects, specifiers, and contractors execute seamless marble border installations from CAD drawings to final polish.
Start here. Explore our curated marble borders and accents collection, read about inlaid marble flooring, and see waterjet marble cutting tolerances.
How Do You Add a Marble Border to a Floor? (Executive Summary)
To add a marble border to a floor, follow five essential engineering phases: (1) Perimeter Setting-Out with an outer perimeter “apron” (100–300 mm) to absorb room out-of-squareness; (2) Corner Resolution utilizing dedicated square corner cartouches rather than 45° miters for repeating patterns; (3) Substrate Equalization using self-leveling underlayment to flush-align border strips with adjacent field tiles; (4) Dry-Assembly Laying with 5-axis CNC waterjet border modules cut to ±0.1 mm tolerances; and (5) Zero-Grout Seam Closing with color-matched liquid polyester resin polished flush to achieve a monolithic surface.
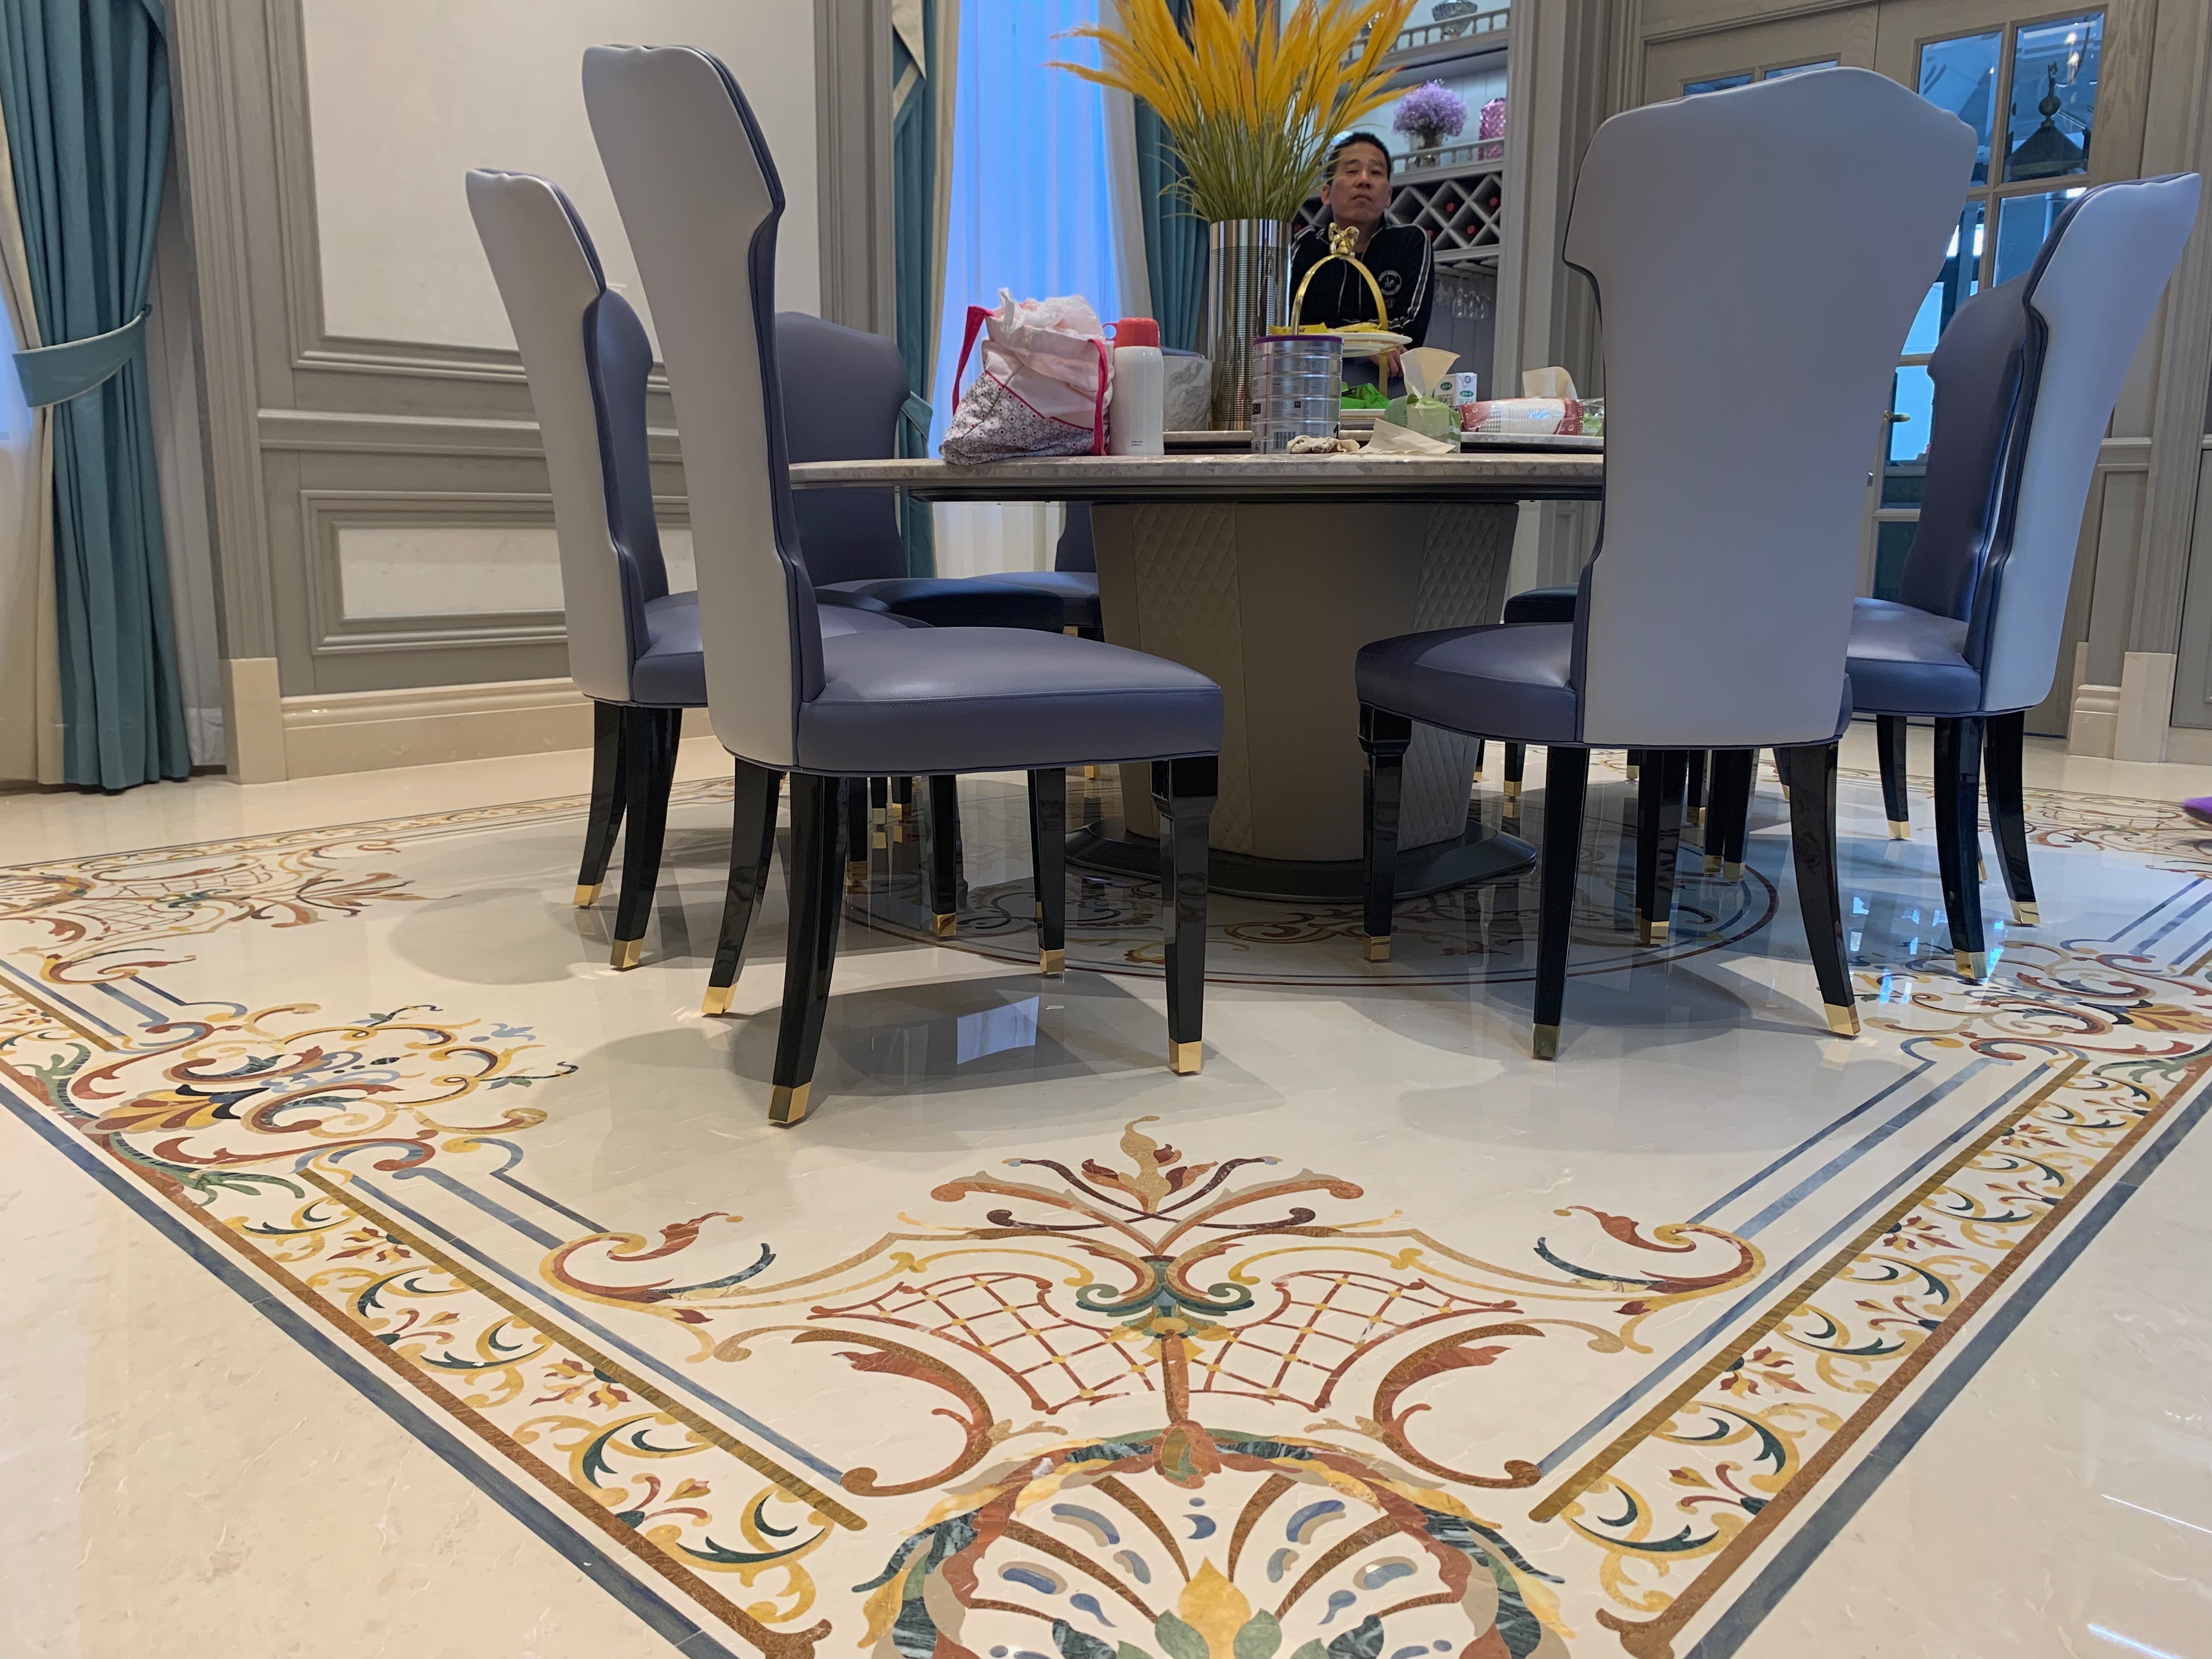
Phase 1: Setting-Out and Mathematical Layout
The single most common installation mistake is attempting to install a marble border directly against perimeter walls or baseboards. In real-world construction, walls are rarely perfectly plumb, parallel, or square. If a repeating border (such as a Greek key or guilloche) runs directly against an uneven wall, the pattern cuts will vary in width, creating an obvious optical defect.
The Perimeter “Apron” Technique
Professional floor setters always incorporate an outer apron (also termed a perimeter margin):
- Outer Apron: A solid-color stone or field tile perimeter band (typically 100 mm to 350 mm wide) installed directly adjacent to the perimeter walls. All site variations and room out-of-squareness are absorbed in this outer border band by scribing the stone against the drywall.
- The Inlay Border: Installed perfectly square and true inside the apron, maintaining constant width and uncompromised pattern geometry throughout the entire perimeter.
- The Inner Field: The primary floor area (field tiles, parquet marble, or medallions) centered precisely within the border frame.
Calculating Ideal Border Width
Border scale must correspond to room volume and ceiling height:
- Powder Rooms & Compact Foyers (Under 15 m²): 60 mm to 120 mm wide (single or dual pencil liners with fine geometric repeat).
- Grand Entrance Foyers & Dining Salons (15–50 m²): 150 mm to 300 mm wide (running pattern flanked by solid guard bands).
- Hotel Lobbies & Palace Ballrooms (Over 50 m²): 350 mm to 600 mm+ wide (multi-layered classical compositions incorporating brass fillets and acanthus scrolls).
Phase 2: Corner Geometry — 45° Miters vs. Corner Medallions
When routing a border around a rectangular room, corner transitions present a critical design challenge. The method chosen depends strictly on pattern complexity:
When to Use 45° Miter Cuts
Mitered 45° diagonal cuts are suitable only for solid color bands or continuous straight pencil liners. Because solid stone bands have no internal repeating motifs, the diagonal cut cleanly redirects the visual line without pattern distortion.
Why Repeating Motifs Require Dedicated Corner Blocks
Complex repeating borders (such as Greek Key, Guilloche, Wave Scrolls, and Floral Foliage) cannot be cut at a 45° diagonal without severing the motif at awkward, non-symmetrical angles. To solve this, master ateliers engineer square corner cartouches (corner medallions):
- The corner block matches the exact width of the running border.
- It features a dedicated, self-contained rosette, square palmette, or turned corner knot that terminates both linear runs seamlessly.
- During factory waterjet cutting, linear modules are pre-calculated to exact module lengths so full pattern repeats meet the corner blocks without clipped elements.
| Border Style | Recommended Corner Solution | Visual Risk of 45° Miter | Recommended Inlay Thickness |
|---|---|---|---|
| Solid Band / Pencil Liner | 45° Precision Miter | Minimal (uniform stone across seam) | 10 mm or 18–20 mm calibrated |
| Greek Key (Meander) | Square Corner Key Block | Severe: breaks meander geometry; incomplete fret | 10 mm (mesh-backed) or 18 mm |
| Guilloche / Interlocking Braid | Turned Circular Knot / Rosette Block | Severe: cuts braided strands abruptly mid-loop | 10 mm or 18–20 mm |
| Floral Arabesque / Acanthus | Corner Cartouche with Floral Medallion | Extreme: bisects floral petals and leaves | 18–20 mm monolithic stone |
| Brass Fillet Hybrid Border | Square Brass Corner Cube / Welded Key | Sharp brass points susceptible to lifting | 10 mm composite or 18 mm stone |
Phase 3: Substrate Levelling & Thickness Equalization
Natural stone inlay borders manufactured on high-precision abrasive waterjets are calibrated to standardized thicknesses — typically 10 mm (fiberglass mesh-reinforced) or 18–20 mm (traditional monolithic architectural slab). When integrating with field flooring, thickness differentials must be engineered before laying:
Integrating with Standard Porcelain Tile (9–10 mm)
If field flooring consists of large-format porcelain tiles (nominal 9.5–10 mm thickness), specify 10 mm calibrated marble border modules. Both materials can be set onto the same flat substrate using a standard 10 mm notched trowel with medium-bed modified thinset mortar (ANSI A118.4 / ISO 13007 C2TE).
Integrating with 20 mm Architectural Marble Slabs
When bordering full-thickness 18–20 mm marble slabs, 18–20 mm solid stone borders are required. Substrates must satisfy ANSI A108 deflection criteria of L/720 under total load (twice as rigid as required for ceramic tile). A bonded screed bed or uncoupling membrane (such as Schluter-DITRA or equivalent) isolates lateral movement.
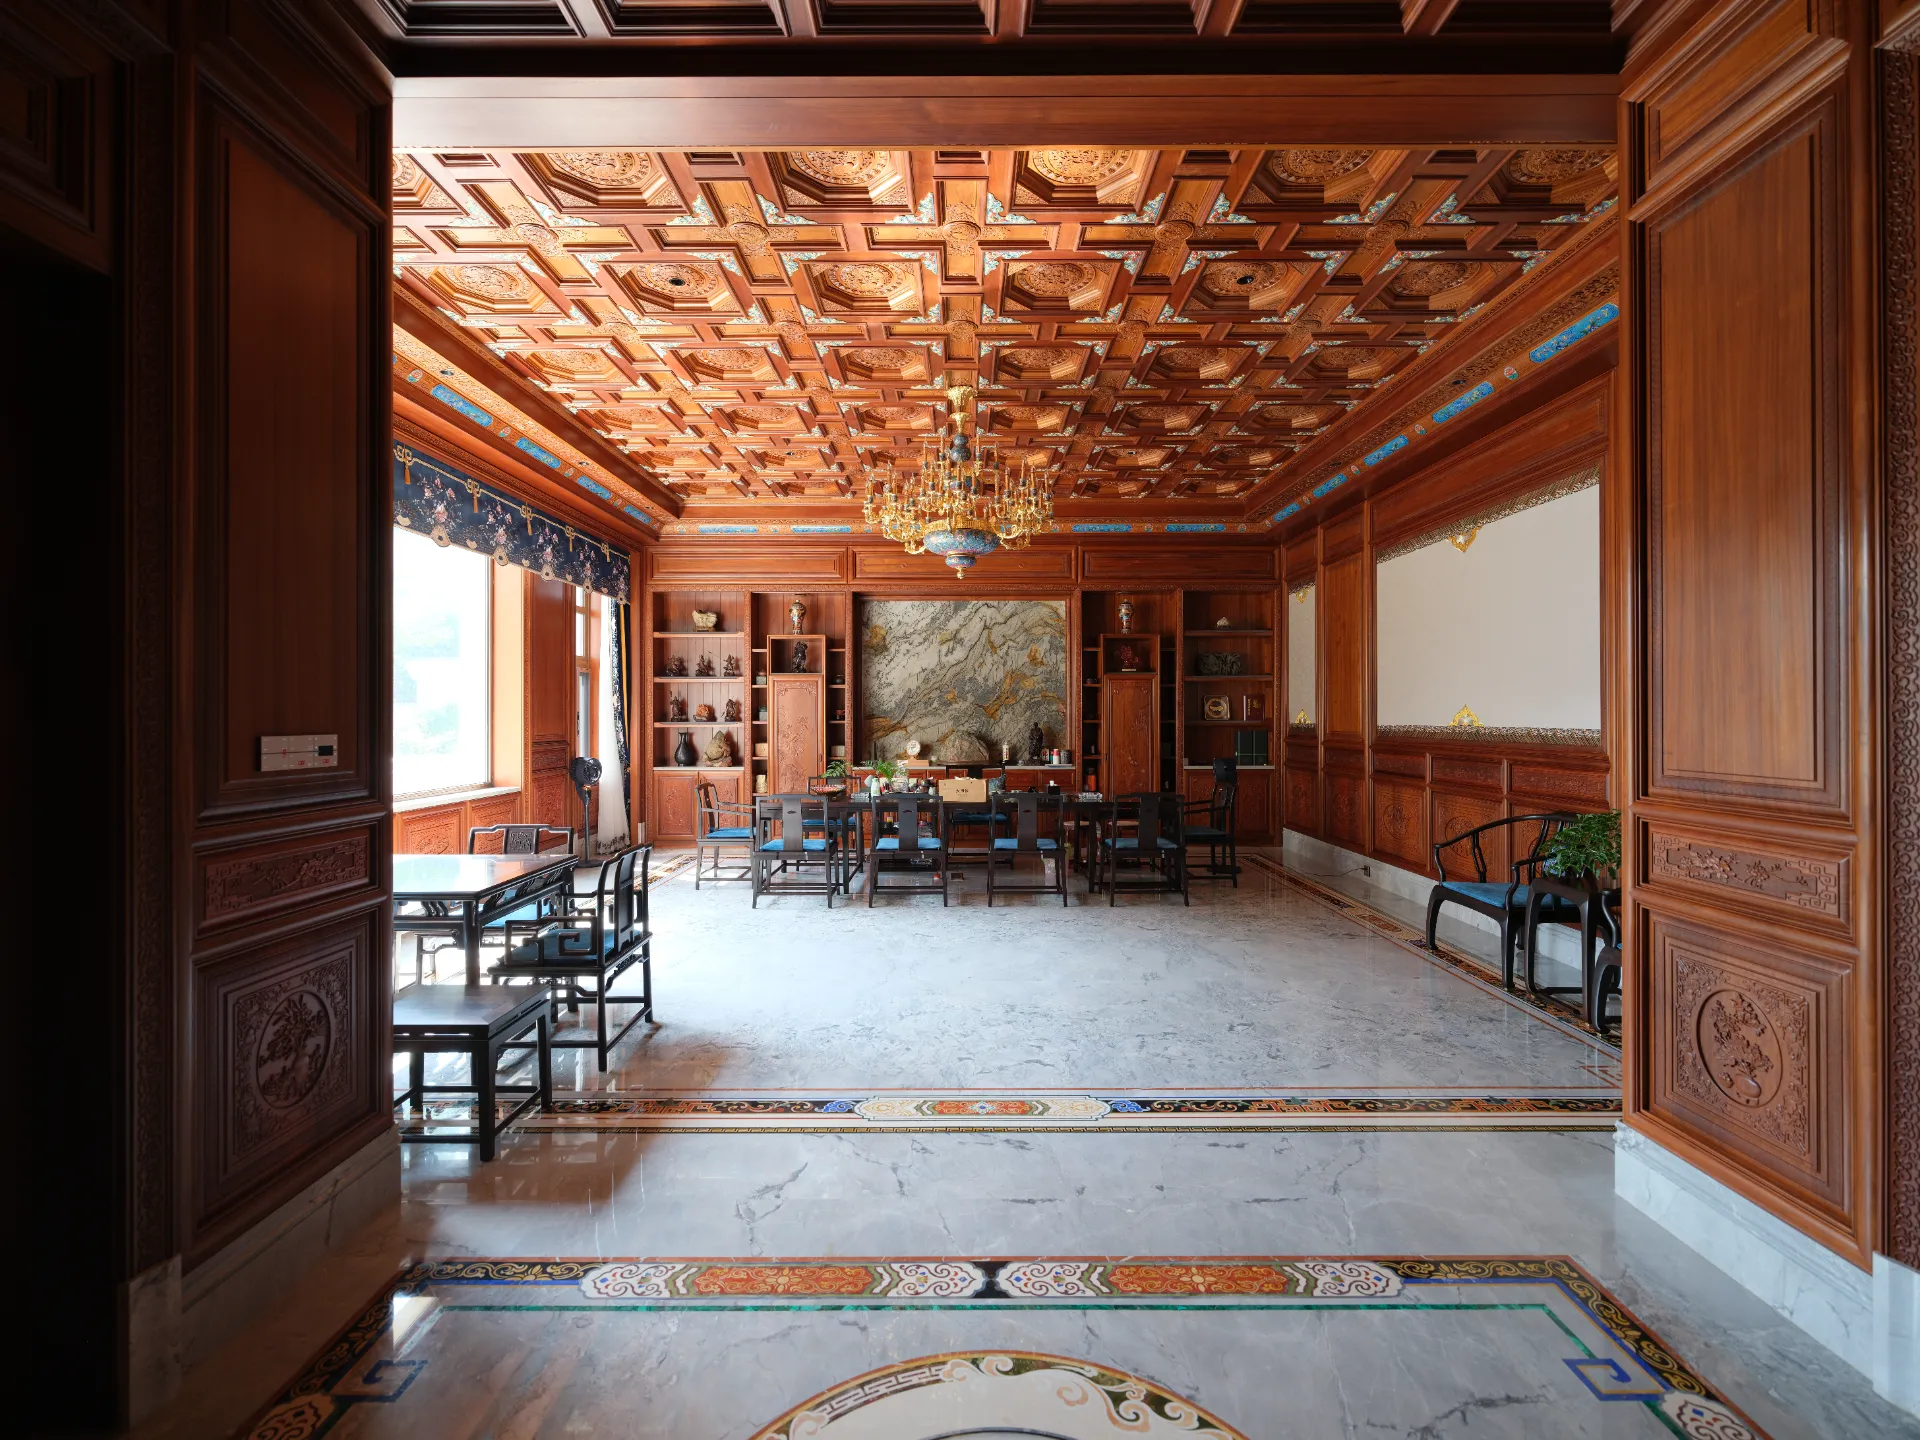
Phase 4: Expansion Joints & Movement Control
Marble borders run in continuous linear perimeter bands, making them particularly vulnerable to thermal expansion and structure settlement:
- Perimeter Soft Joints: Leave a continuous 6 mm to 10 mm expansion gap between the outer apron stone and wall framing. This gap is concealed completely by baseboards or stone skirtings and filled with flexible closed-cell backer rod and 100% silicone sealant.
- Field Division Joints: In areas exceeding 8 meters in continuous run (or where underfloor radiant heating is present), incorporate an architectural movement joint aligned with the border edge. Brass or stainless steel transition strips can be integrated seamlessly into the design to double as movement joints.
Phase 5: Zero-Grout Seam Closing & Polishing
Unlike standard ceramic tile installations that rely on 2–4 mm cementitious grout joints, bespoke marble borders are engineered with hairline seams under ±0.1 mm:
- Factory Dry Assembly: The border modules and corner cartouches are dry-assembled, numbered, and inspected at the atelier before crating. Installers lay modules following a numbered setting plan.
- Joint Bonding: After the thinset cure cycle (24–48 hours), hairline joints between border modules are vacuumed clean and filled with two-component UV-stable polyester or epoxy stone mastic tinted with dry mineral pigments to match each stone’s background color.
- Continuous Honing & Polishing: Once cured, the entire floor (apron, border, and field) is diamond-honed flat with planetary floor grinders and polished as a single continuous surface. This eliminates lippage and creates an authentic monolithic “seamless” reading.
Frequently Asked Questions About Floor Borders
Can you add a marble border to an existing tile floor?
Yes. To retrofit a marble border into an existing tile floor, the perimeter row of tiles must be removed using diamond saw cutting along chalk lines. The subfloor is scraped clean, leveled to the precise height required, and the pre-assembled waterjet border modules are embedded in thinset. A 45° or straight diamond transition edge is polished to match adjacent surfaces.
How wide should a marble border be in a hallway?
In narrow corridors and hallways (1.2 to 2.0 meters wide), borders should be 100 mm to 180 mm wide on each side. This leaves sufficient field width (800–1,600 mm) for comfortable walking perspective while preventing the hallway from appearing visually pinched.
Should marble border corners be mitered?
Only solid, unpatterned stone bands should be mitered at 45°. Geometric, meander (Greek Key), or floral arabesque borders should always utilize square corner cartouches (corner blocks) to avoid bisecting repeating motifs at awkward angles.
How much does a custom waterjet marble inlay border cost?
Factory-direct waterjet marble inlay borders generally cost between $65 and $220 per linear foot ($200 to $700 per linear meter), depending on pattern complexity, stone rarity (e.g., Calacatta Gold vs. Nero Marquina), and brass fillet integration. Corner cartouches are priced per unit ($120 to $350 each).
How are custom borders packaged and shipped for installation?
Border modules are cut into manageable linear segments (typically 600 mm to 1,200 mm lengths) backed with fiberglass resin mesh. Each segment is numbered sequentially (A1, A2, A3…) matching an architectural CAD setting plan and crated in fumigated export timber cases.
Borders & Accents
Commission Custom Marble Borders
Send your floor plans or CAD drawings. Our drafting studio delivers full shop drawings, stone origin schedules, modular layout maps, and an itemized factory-direct quote within three business days.