How to Choose a Marble Inlay Manufacturer
Five practical verification checks that separate a true architectural stone inlay factory from a trading company or catalogue reseller.
Begin a commission →Buyer's checklist
Most bespoke marble inlay is commissioned across borders, making your choice of manufacturer the single most important safeguard on the project. A trading broker outsourcing cutting to one workshop and polishing to another rarely holds tight tolerances across a full room. Before placing a deposit, five practical checks will tell you whether you are dealing with a genuine atelier.
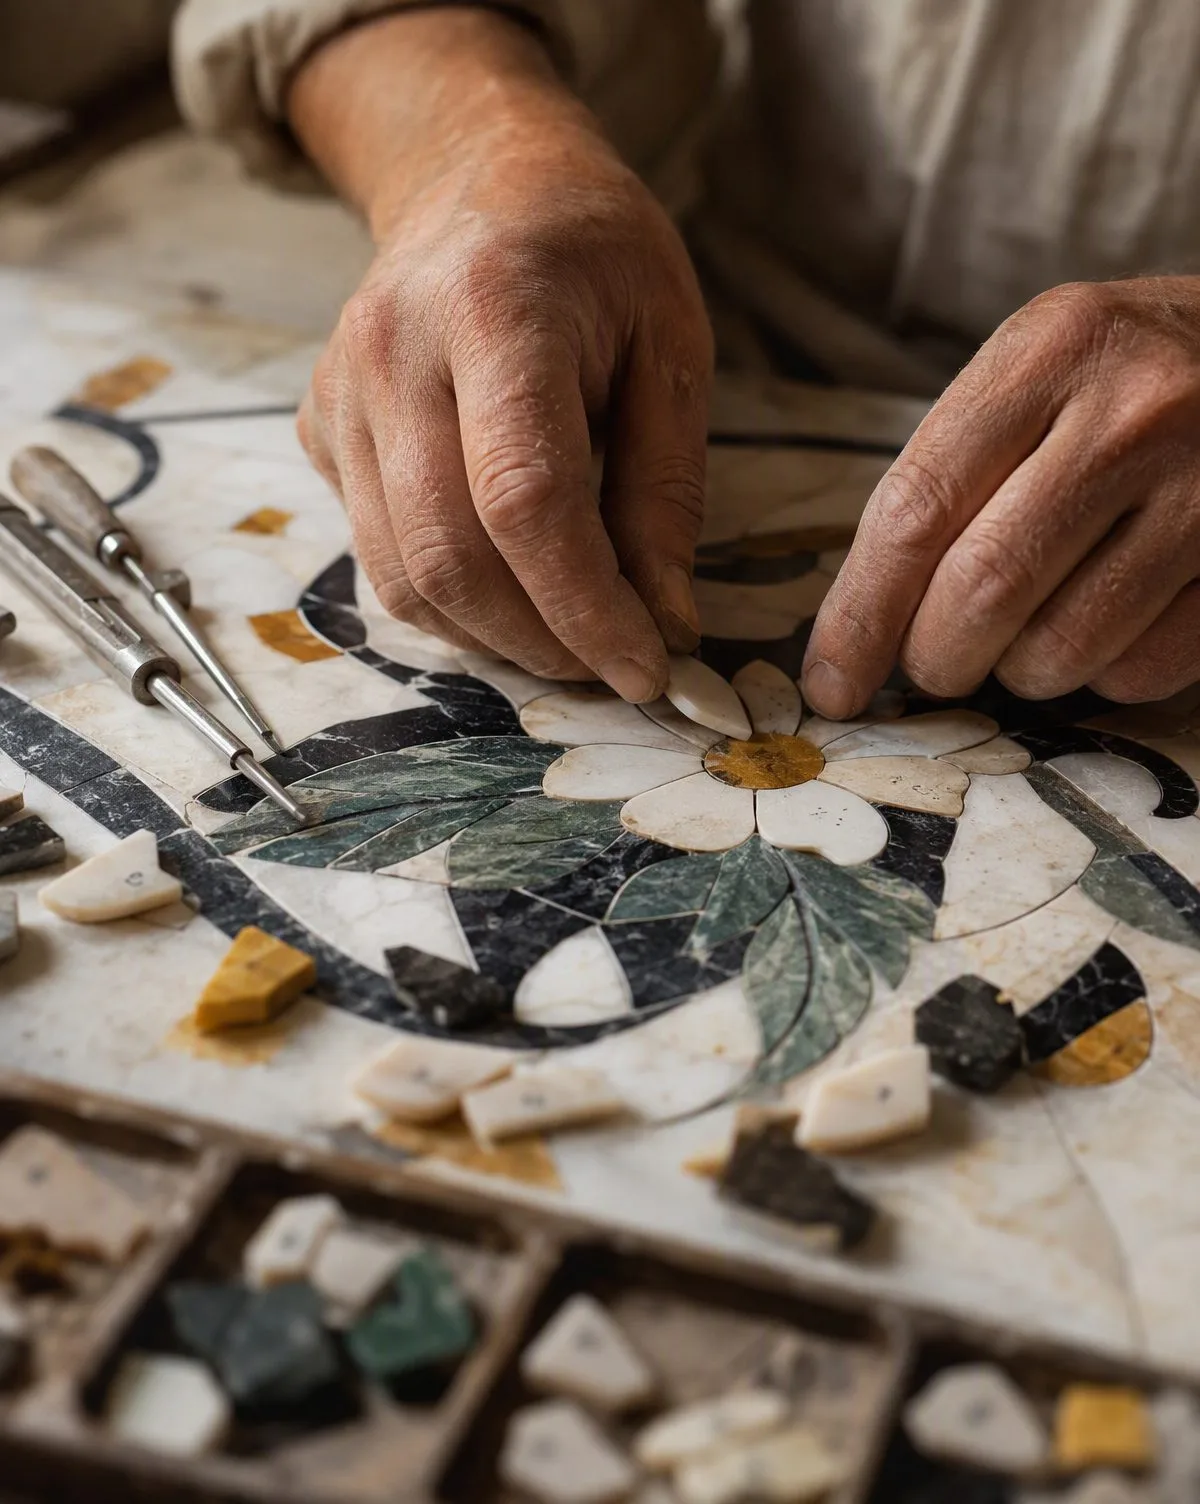
First, verify that CAD engineering, multi-axis waterjet cutting, hand-fitting benches and dry-assembly floors operate under a single roof. When the craftspeople assembling the medallion stand twenty metres from the waterjet operator and the slab yard, subtle vein transitions and tight kerf fits are resolved on the spot.
Second, examine how they handle shop drawings. A capable manufacturer never cuts directly from a rough concept sketch; they build a 1:1 room setting-out in CAD that reconciles site dimensions, door thresholds, column centres and structural movement joints before touching a slab.
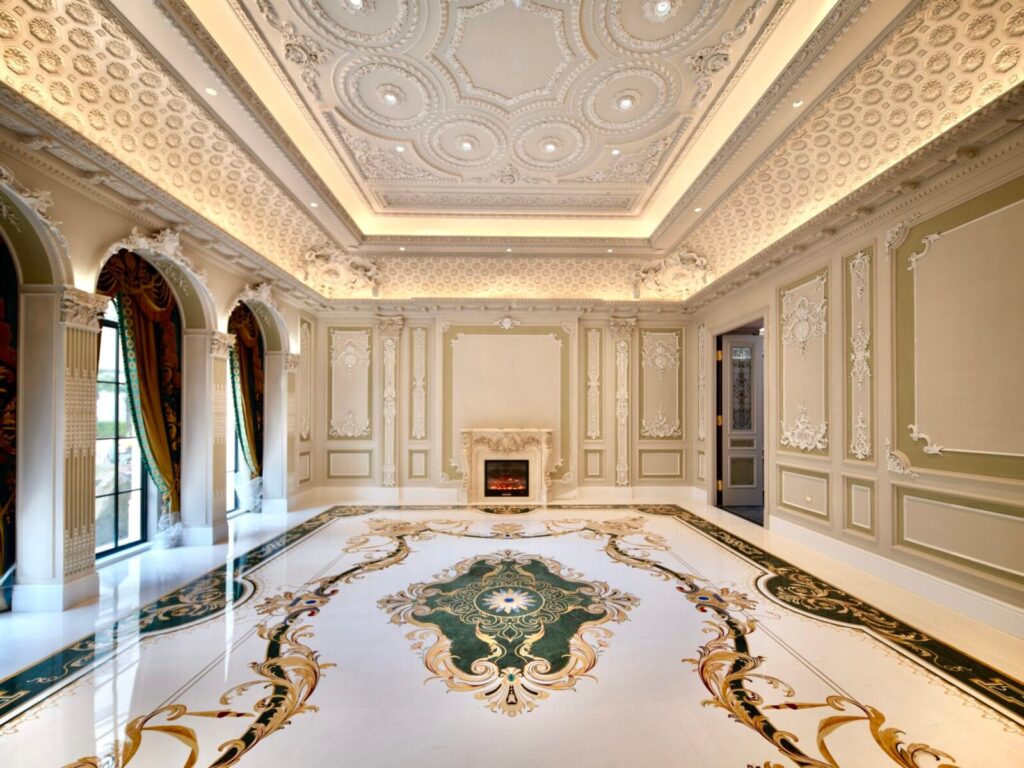
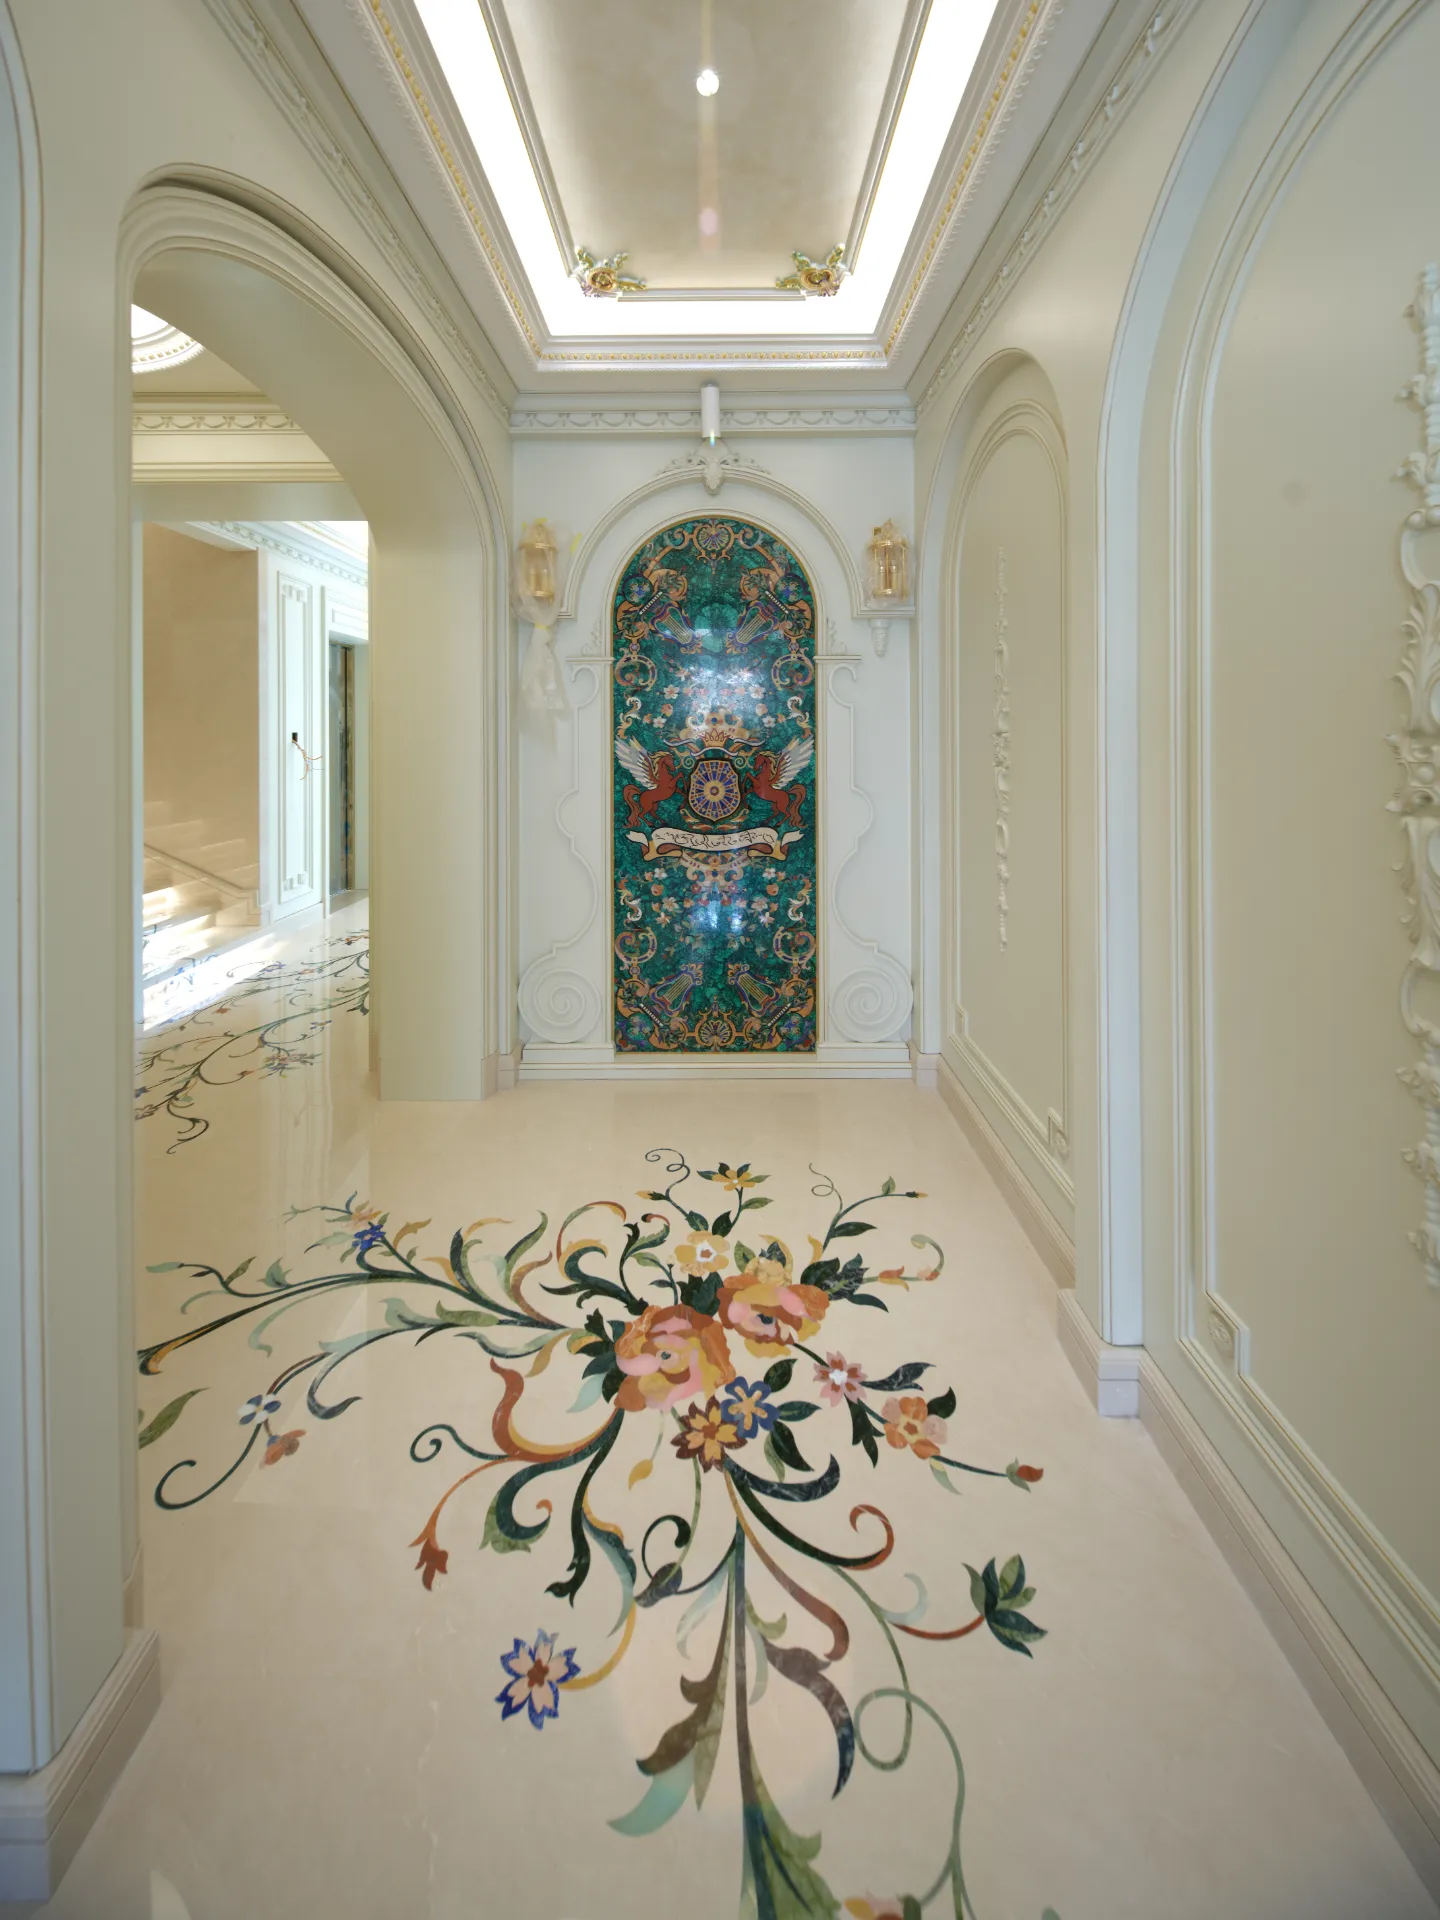
Third, ask for their cutting tolerance and joint specification. True architectural stone marquetry holds ±0.1mm at the waterjet and is lapped flush with colour-matched structural resin, eliminating recessed cement grout lines that trap dirt.
Fourth, insist on a photographic slab study and a complete factory dry-lay prior to crating. Seeing your exact floor assembled in full under workshop lighting — with every panel numbered against an installation map — removes all uncertainty before the crates leave port.
Numbers that matter
Raw block yard, CNC waterjets, artisan benches and dry-lay floor in one facility
Full-room setting-out drawings resolving thresholds, columns and movement joints
±0.1mm waterjet kerf compensation with zero recessed grout lines
High-resolution photography of selected quarry slabs mapped to your CAD layout
Complete floor assembled, inspected, photographed and indexed before crating
From drawing to crating
Full-size drawing
The pattern is drawn 1:1 on the atelier floor before any stone is cut, so proportions are settled at the scale you will walk on.
Stone selection
Blocks and slabs are chosen against the drawing, vein by vein, and photographed for your approval.
Waterjet cutting
Multi-axis waterjet cuts every piece direct from the approved CAD file, held to ±0.1mm across the whole figure.
Dry assembly & crating
The composition is assembled, inspected and numbered on the factory floor, then crated with a setting plan.
Answered for specifiers
Request unedited dry-assembly floor photographs from recent commissions alongside their corresponding CAD setting plans, and schedule a live video walkthrough of the waterjet bay and dry-lay floor.
Pieces should be waterjet-cut to ±0.1mm and bonded with colour-matched resin so seams read as a continuous hairline rather than an open tile grout joint.
A 50% production deposit is typically placed only after you have reviewed and signed off on the 1:1 CAD shop drawings and slab selection study, with the balance due upon approval of factory dry-assembly photography prior to shipment.